Objects and Camera
Create multiple objects and animate camera movement
In this project you will learn how to work with multiple objects, and to move the camera around them.
Create two objects, both with animated shapes
- Check the Box in the list under 3D Objects in the pop-out menu, so that it becomes visible again.
- Select it (by clicking on it in the list).
- Use the Copy from… drop-down to copy the material from the sphere.
- You have now an intertwined sphere and box, both moving to the music and your hand gestures. To synchronize the music across the objects, you might have to Stop () then Start () the animation again.
- Note how only the four corners of the Box move. That’s because it’s geometry (mesh) by default only uses 8 vertices (the minimum) to define the box. You can increase this by modifying the Parameters entry for the box, from [4,4,4,1,1,1] to [4,4,4,5,5,5], and you will see the box being more deformed.
- To avoid the music and animation to interfere with the following steps, you might want to click Pause () first.
- Let’s move the objects apart: Hold down the shift-key while clicking on the object in the Scene Viewer. You will see three arrows (a blue one for the forward direction, red one for the rightward direction, and a green one for upwards). You can move the object in 3D space by clicking the arrow head of one of the arrows and drag it. This restrains the movement to a forward/backwards movement along the direction of the arrow. You can also move the object more arbitrarily by dragging the object itself (rather than an arrow head).
- Move one of the objects so that it’s a fair distance between it and the other object.
- Stop the move action by clicking the background while holding down the shift key (or by deselecting the object in the 3D Objects list, or by deselect the Position Editor under Object Properties).
- If you have paused the animation, restart it by clicking Start (). You now have two animated objects moving side by side.
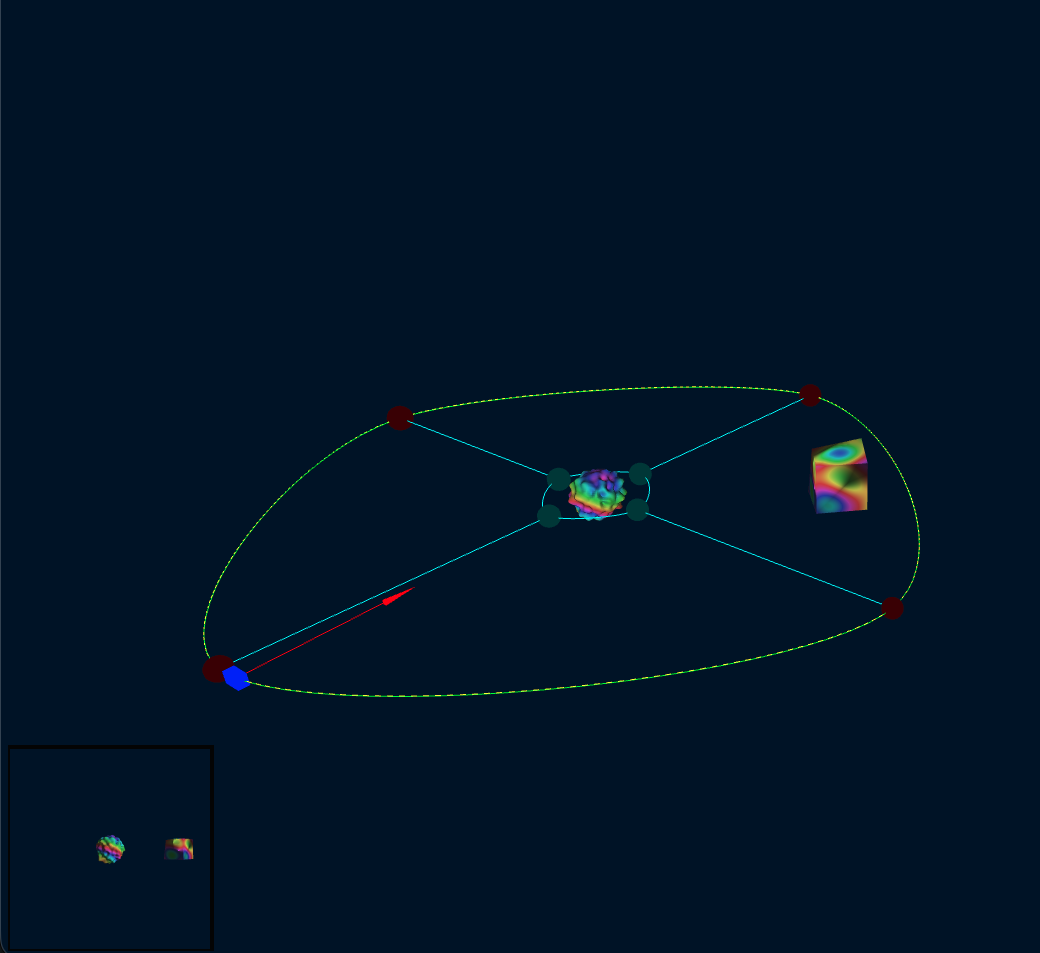
Two animated objects side by side
(source)Note that if you click on an object, the camera’s focus is on that object, and you can manually move around it and see it from all directions.
Animate the camera
-
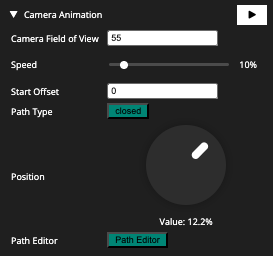
Expand the Camera Animation section in the pop-out menu.
-
Click Path Editor.
-
You will see a green pathway along which the camera will move. There are four brown balls along the camera motion path that determines the shape of the curve (they correspond to control points in a Catmull-Rom curve). You can add more control points as needed. In the center you will see four green balls that determine the direction of the camera as it moves along its motion path.
-
In the lower left corner you see the view from the camera’s perspective.
-
You can move the camera manually along it’s motion path by turning the Position wheel in the pop-out menu.
-
Now click the Camera Animation Start button () in the Camera Animation section.
-
The camera starts moving along its path by itself (the Position wheel turns accordingly).
-
To see it in the full Scene Viewer deselect the Path Editor.
-
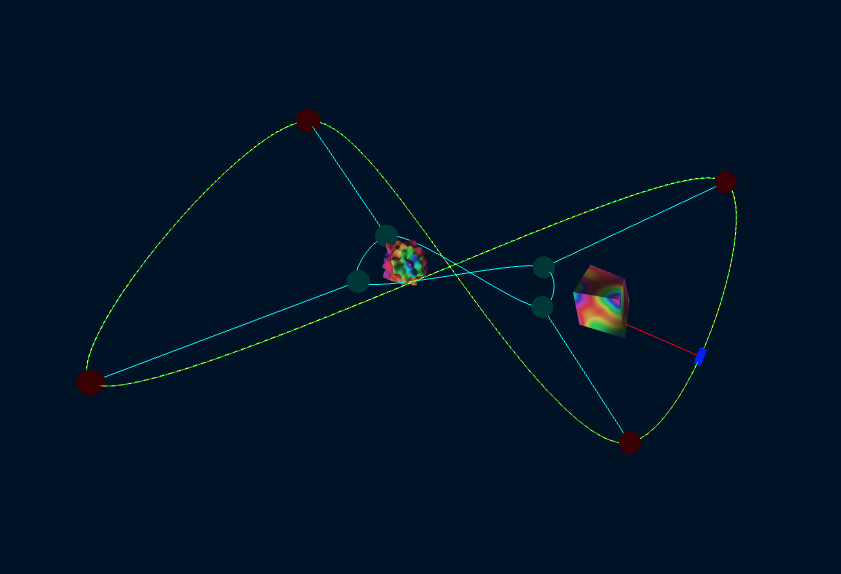
To change the camera path, enable the Path Editor and click on one of the brown control points. You’'ll see three arrows (as for when we moved objects). Move the control point just as you were moving objects.
-
Using the above functionality, rearrange the camera path to an eight.
-
Start camera animation again to see it move along the modified path.
To add more control points, right mouse click on the control point. To remove a control point, hold down the Shift key while right mouse clicking the control point.
Completed Project
Camera animation in an eight
(source)